Thursday, March 30, 2017

Applique Tutorial

Those of you who are following along with the construction of Twilight Gardens may have been wondering about the applique coming up in block 5.  We are not quite there yet, but I thought I would give you a little primer on one way to do applique.

It seems there are dozens of ways to applique one fabric to another, and ultimately, you need to try a few methods and find the one you like the best and gives you the best results.  I tend to be a hand applique person, and many of you are not, and prefer to do everything by machine.  The applique in the Twilight Gardens quilt can be done by hand or machine, and this method of prepping your applique pieces can be used for either method. If you have another method you would like to use on this quilt, please feel free to do that.  The main thing is that you are enjoying the technique and it is achieving the results you like.

Preparing your applique pieces

Normally when I do applique, I like to do simple needle-turn.  This eliminates the need to pre-turn the edges of your pieces. But I thought I would try a new method. I have seen this demonstrated, and it seemed like a pretty easy method and one that could be used for either hand or machine.
Start by tracing your pattern pieces onto the paper (non slick) side of a piece of freezer paper. If you need it, use a light box or a well lit window to help you see the pattern clearly. Make sure you trace an outline for each piece you will be appliqueing, as the freezer paper templates can not be reused. Label them if there is any confusion about where they go in the block design.
Cut out the templates right on the line, and separate them into piles based on the fabric that will be used for each applique piece.  In this case I have flower petals in either medium or light blue, and leaves that will all be cut out of a single green fabric.


I like to use a separate pair of scissors to cut paper from the good ones I use to cut fabric with.  This keeps my fabric shears sharper longer. 

Now, using a water soluble glue stick, apply a little glue on the center of the paper (non slick) side of each template and glue them down to the wrong side of your fabric.  Leave 1/2" space between all templates.


 Once you have your templates glued down, using your fabric shears, cut the fabric pieces out leaving a scant 1/4" seam allowance (about 3/16" is about right) on all sides.

Now we will start turning the raw edges of the fabric. If there are any sharp points on your applique shapes, begin by folding over the point first.  Using a mini iron and a stiletto that will not melt, gently iron the seam allowance over the template, with the crease right on the edge of the freezer paper.  The seam allowance should lightly adhere to the slick side of the freezer paper which is now facing up. 
Follow around the edge of your template turning the edge with the stiletto and gently ironing with the mini iron to hold in place. The example shown in the photos has all convex sides, but if your piece has a tighter concave curve or an inside point, you will need to clip into the seam allowance almost all the way to the freezer paper to have it conform to the shape easily.  Clip only once for an inside point, make a few clips for a curve.
Once you make it all the way around your piece it should look like the photos below.


The next piece you need to prep is the stems.  These also can be made a variety of different ways.  The method I will show you here is one of the oldest.  It was the first method I learned and one I still prefer for doing small bias stems.


Fold over the corner of your stem fabric forming a 45 degree angle.  Cut how ever many strips you need off the corner so your strips are cut on the bias.

Fold these strips in half down the length of the strip and mark a sew line using a contrasting marking tool at a width slightly wider than your finished stem should be.  
Here I am marking at a little over 1/8" for a 1/8" finished width.


Use a set of press bars for making bias strips.  They come in metal, and heat resistant plastic.  They both work well, but the metal ones can get hot to the touch.  Stitch on your marked line and trim the seam allowance down to less than the width of your finished stem.  Here I am trimming seam allowance to less than 1/8".  Insert the appropriate size press bar and roll the tube so the seam can be pressed the back side of the stem and not show.
 Once the seam allowance is pressed to the back, remove the bar and turn over your stem.

Pin the stems in place first.  Use a fine thread with matching color to applique them down.  They can be either machine sewn using a close matching thread color and a blind hem stitch, or they can be hand appliqued.  I like to use Kimono brand 100 wt. silk thread by Superior Threads. It is very fine and nearly invisible.  It comes in 80 colors and is strong for it's weight.


  When appliqueing by hand take small stitches. Drop the needle into the background fabric right adjacent to the applique piece, then bring the needle back up slightly under the edge of the applique, and out right at the edge fold.  Repeat this stitch along all edges.


Once the pieces are stitched in place, turn over the piece and locate the individual pieces with freezer paper still attached inside.  CAREFULLY with a pair of applique scissors that are sharp right to the point, cut a small slit in the background directly underneath your applique piece. Be very careful to stay far from the sew edges.  You just need a small hole large enough to pull the freezer paper through.  Using a stiletto or pair of tweezers, grab the paper and give a slight tug to release the glue.  Remove the paper from the back.


Here is trick to make your hand sewing much easier.  If you use silk thread, you may have the problem of the needle coming un-threaded  occasionally due to the fine thread.  When you thread your needle, pull a loop of thread through the eye of the needle and loop over the point of the needle, then pull snug into a small knot at the eye.  This will keep the thread put while you are sewing.  When you reach the end of the thread, tie off and cut the knot off the needle by gently running the blade of your scissors along the eye of the needle.


 This method of preparing my applique pieces worked very well for this project.  At first I was a little concerned about cutting the back of my project to remove paper templates, but I found this was really simple and left a very small hole that does not compromise the strength of the background.
As always, I suggest trying this, as well as other methods, and choosing your favorite.

Steven


Wednesday, March 8, 2017

Twilight Gardens Block 3

Before we begin talking about block 3, I need to mention a couple of errors in the printed pattern for block 2.  They are not errors of cutting or dimensions.  When assembling the flying geese units that form the center star points, the directions should read, "layer a light 2" d square onto rectangle c as shown". You may not have even noticed this was wrong.

The other error is actually in the diagram for the outer corner units.  Beginning halfway through the pattern, the small a/b half square triangle units are flipped with the dark and light side reversed from where they should be.  Fortunately, the star block looks great made either way, so if you followed the layout this way, it is not a serious problem. I assembled my block this way, and I actually liked it better than the layout in the actual quilt.


My fabric selections     
Moving on, as I mentioned last month, the block patterns for blocks 3 and 4 are identical to the block patterns for blocks 1 and 2 respectively.  So we have been through the construction sequence already.  I will tell you a bit about how I selected fabrics for this block. I wanted two things in this block - a center star that popped, and outer corners that used the hombre plaid.  I love using hombre plaids in quilt blocks.  They tend to have this luminescent look about them, almost as if they were lit from behind.  My outer star points are cut from a fairly dark gray.  It has enough contrast with the pure black background to show up nicely, but not enough to take away from the center star.


Half Square Triangles
Quarter Square Triangles
 Just a small reminder that when you are cutting out your triangle pieces for this block, do make sure you cut them as the pattern states, as either quarter square triangles, or half square triangles as in the two example photos.  This is very important, as the sides with a bias edge should always be pieced into the block, and not fall along the outer edge. This is because the bias edges have more stretch and give to them, and you do not want the outside edges of the blocks to stretch out of shape before you have a chance to sew them into the quilt top.


Chain piecing HST's
I also wanted to mention that many pieces in these blocks lend themselves to chain piecing.  The half square triangle units can be sewn in a chain of 4, as can be the flying geese.  Adding one side triangle to one center triangle for each of 4 units, then pressing and adding the next four side triangles in a chain.  This not only saves time, but often results in more accurate piecing.


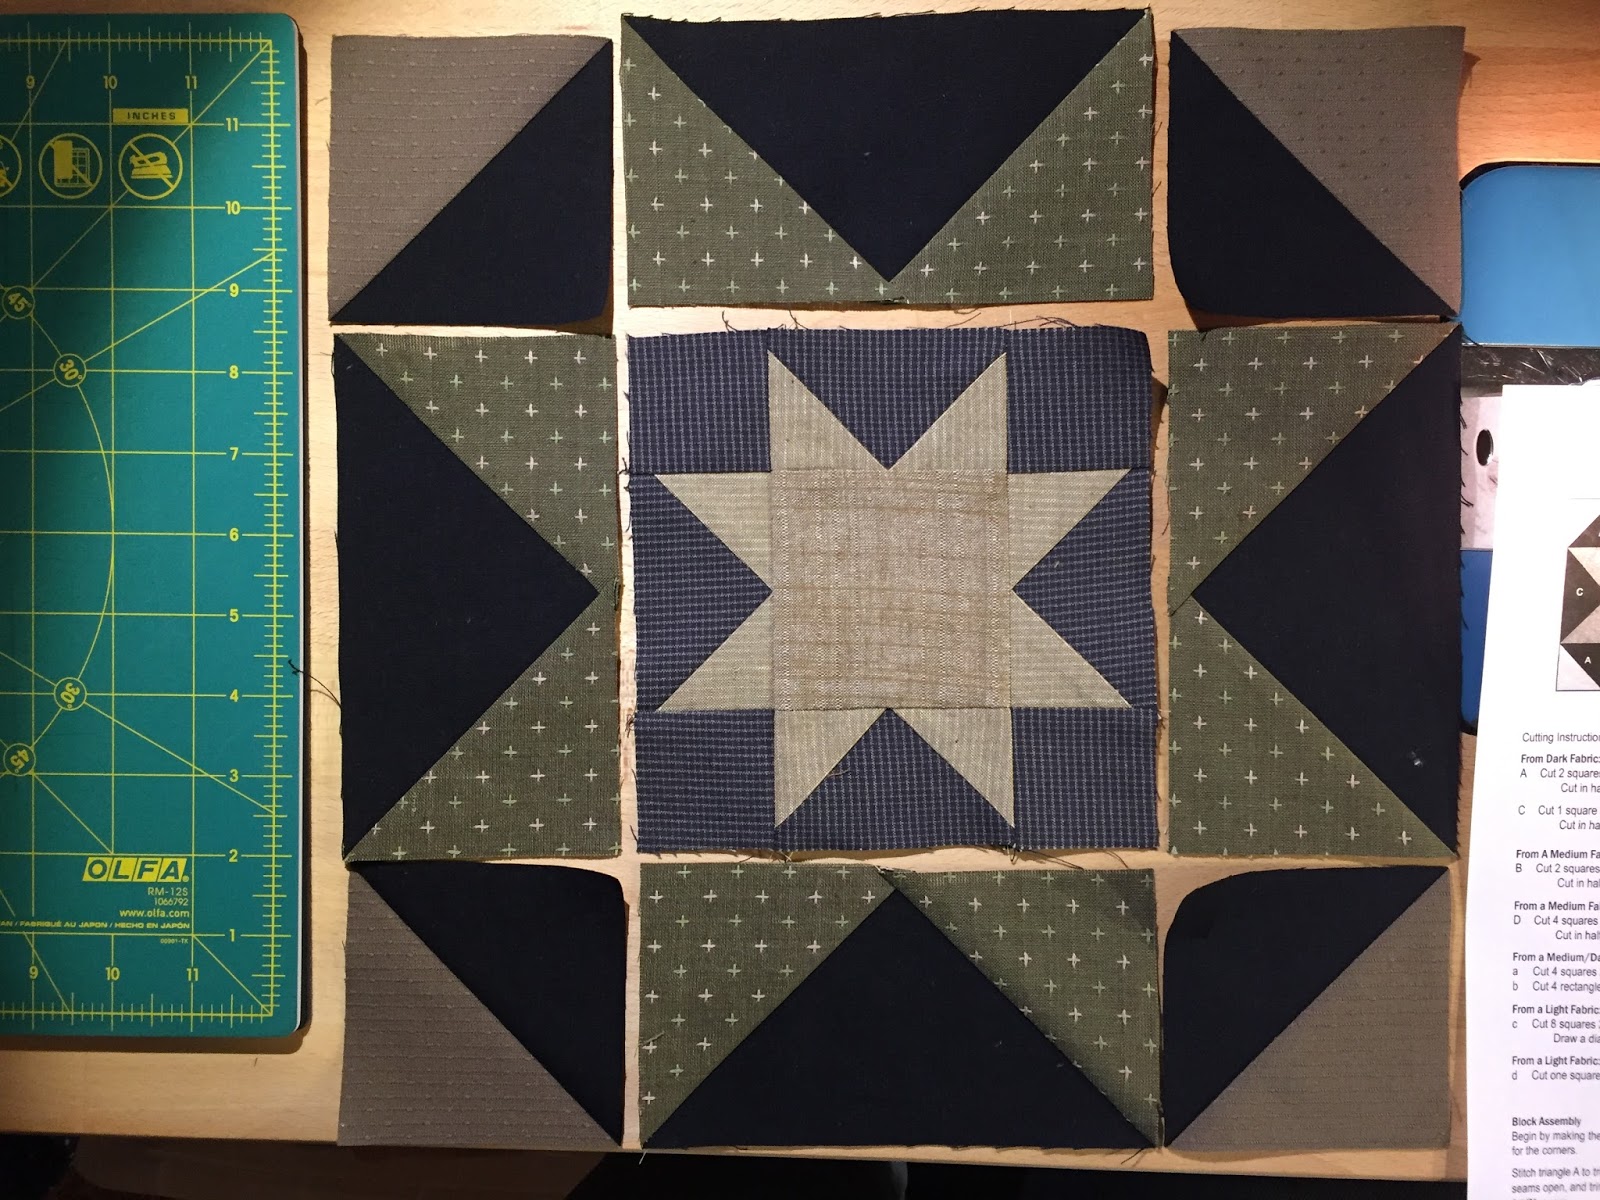
  The layout for this block is identical to that of block 1. If you have trouble getting any of the seams to lay flat, consider pressing them open to divide the bulk in two directions. The center block at left forms the center square when laying out the full block. (Yes, I realize the photo on the right has an error. The bottom right corner square is turned 180 degrees from where it should be in the block layout photo.  Unfortunately, I sewed the block together and missed the opportunity to take a corrected photo.  oops). The photo below is correct, however.
Center Star Layout
Entire Block Layout


Finished Block - measures 12 1/2" square
 And here is the completed block (with correct placement of the lower corner.  This block has a very distinct neutral color as compared with the first couple of blocks.  All the fabrics in this quilt are fairly muted in color, but some lean more towards green or brown or gray or red, so I am trying to get a mix of block colors.  In block 4, I think I am going to pick a mix that shows a bit more green-gray coloring.

The block for May (block 5) will be our first applique block. There are many methods of doing applique that will work, and I encourage you to use your favorite method. If you have a method you like, you may want to get started on that block a little early, as the applique might take you a little longer than the piecing we have been doing.  If you are new to applique, or don't have a preferred method, I will be demonstrating a method for preparing your applique pieces using freezer paper. The pieces may then be appliqued to the background either by hand or machine. I will talk more about this in the next article.

Thanks for following along.

Steven  


Wednesday, February 8, 2017

Continuing On - Twilight Gardens Block 2

If you have read through the pattern for Twilight Gardens, and looked carefully at the photos of the quilt, you may have noticed that block 3 of the quilt is the same pattern as block 1 and block 4 is the same as block 2. Of course the fabrics will change, but the construction steps are the same.  It is fun to see the same block made with different fabric choices, so you might be giving that a little thought before selecting fabrics for next month.  I like to lay out a few fabric possibilities and view them next to the blocks that have already been made.  After all, they will all reside in the same sampler quilt once finished. I think you will find that if you do this, you will easily be able to select a few fabrics for your next block.

When choosing your fabrics for block 2, remember it's placement in the quilt is top and center.  Your eyes are drawn to this position, and having a block with a little more contrast and color may balance out some of the focus on the Daylilies and Twinkling Stars in the bottom two corner blocks.  I made sure to choose a couple of red toned fabrics for my center star, and I used pure black as my darkest fabric. I wanted a very high contrast between all the outer star points and my background fabric, so I picked one of the lightest tans for star points to set against the black.

As I mentioned in my last article, I try to incorporate one or two patterned fabrics into each block as well.  Many of the fabrics in this quilt read as simple solids and textures, so the use of a patterned fabric will stand out, and give your block a lot of visual interest.  One of the patterned fabrics I chose for this block was the red plaid.  I put this right in the very center of the inner star.  I used one other patterned fabric, a nice medium scale brown/gray plaid that I used for the 4 outer block corners.


Follow the cutting directions carefully.  It is very important that you cut some of the triangles as half square triangles (square cut in half once diagonally), and some as quarter square triangles (square cut twice diagonally, yielding four triangles).  Not only does this affect the size of the triangles, it also affects which sides of the triangles are straight of grain, and which are bias edges.  We always try to keep the grain of the fabrics going the same direction in the block if possible. It will yield a block that is more stable with less chance of distortion.

At first glance, Block 2 looks like quite a complex block, but it is made from very simple units, and as you see each step, you will realize it is not difficult at all.  The designer does make one very good suggestion with this block, and that is to press your seams open.  I did this throughout most the block, and it made construction a lot easier. Note the open seams in these two photos. You will also see seams pressed open in later photos as we begin to put the units together.


Begin by making large and small half square triangle units A/B and a/b.  These are cut a little oversized and then trimmed down to the correct size as in the previous block.

Note the diagonal direction


You will then make rectangular units F/G by lining up a square G over one end of a rectangle F, right sides together.  On 4 of these, draw a diagonal line corner to corner on the back of square G.  Sew on this line and clip extra corner fabric away leaving just a 1/4" seam allowance.  Repeat these steps with the other 4 rectangles, but draw the diagonal line in the opposite direction, so you end up with 4 right hand units and 4 left hand units.  They will be mirror images of each other. Flip the triangle corners and press.
Lay out the block corner units using one large and one small half square triangle unit, and one each left and right handed rectangle unit.


Press the seams open to reduce bulk.
You will then make 4 large hourglass units from quarter square triangles C, D, and E


The seams on this unit can be pressed in rotation, like a pinwheel.  See on the back photo the 4 seams are pressed in a counter clockwise direction.  This allows the center seam intersection to lay flatter.  This can be done just about any time you have a 4-way corner in piecing.

Our next unit is the Flying Geese.  They are made the same way as the rectangle units above.  Lay a square d over one end of a rectangle c, right sides together.  Draw a diagonal corner to corner on the back of the square and sew on this line.  Trim the excess triangles leaving a 1/4" seam allowance. Flip and press these triangle corners.  Now add a second square d on the opposite end of the rectangle c. This square will slightly overlap the corner of the previous piece.
Draw the diagonal line in the opposite direction to the first one, as seen in the photo above.  Sew on this line, trim and press the corner.  Your finished Flying Geese units should have a 1/4" allowance above the point.
You will assemble 4 side units, each from one Flying Geese unit, and one Hourglass unit. Then lay out your side units, corner units and the large center square to form the block.  Sew together in rows, pressing the seams open.  This is important.  There is just too much bulk generated from all the seams in this block.  As you sew the final rows together, press the seams open again. 


 You may have noticed that I have changed the placement of two of the fabrics in this block from the original pattern.  I rotated the small half square triangles in the corner units so the gray is joining the red inner star points rather than the black.  When I was laying out this block, I just liked the way this looked better.  I just point this out to show you that you can make whatever changes you want during construction of your blocks.  It is your quilt, and a pattern is only a guideline, and the layout is not set in stone.

Have fun with these blocks

Steven


Thursday, January 5, 2017

Twilight Gardens Block 1

First a word about choosing fabrics.  The kit includes lots of fabrics to choose from, and you don't have to use every one, but the scrappier look will be achieved by including as many of the fabrics as you can.  The palette of  fabrics distinctly leans towards darker fabrics, so a dark is considered black or near black. There are medium darks, mediums, and lights.  The lights might be considered mediums in another project, but relative to the fabrics in this quilt, they are the lightest.  I suggest picking fabrics from these groups as the pattern specifies, and as you select for each block, pick a group that all go together nicely, and include one or more patterned fabrics for texture and interest.

I have selected these 6 fabrics at left, with the top three used for the larger, outer star, and the bottom 3 used for the smaller, inner star.


Be sure when you are cutting your pieces, to cut the triangles for A, B, and D as half square triangles, and the triangles for C as quarter square triangles (as pictured in the center above).  This will assure that the outside edges of your block will all be straight of grain.


Note that my medium dark fabric for the background of the inner star (charcoal gray) is just a bit lighter than the pure black fabric (dark), and I have also chosen two lights for the center star.  One goes in the center (space d) and the other is used for the star points (space c). Although the two lights are very similar in value, they have a nice variation in texture.

Assembling the pieces is pretty straightforward according to the printed pattern.  Sewing pieces A and B together to form the outer corner squares of the block, and sewing D's to triangle C making flying geese units that are used as the outer star points.


Be sure to trim down your half square triangles. Line up the diagonal reference line on your ruler with the diagonal seam, and trim to 3 1/2" square.  Also, trim your dog ears off your flying geese units.  It will make your final seams less bulky, and the finished block will lay flatter.


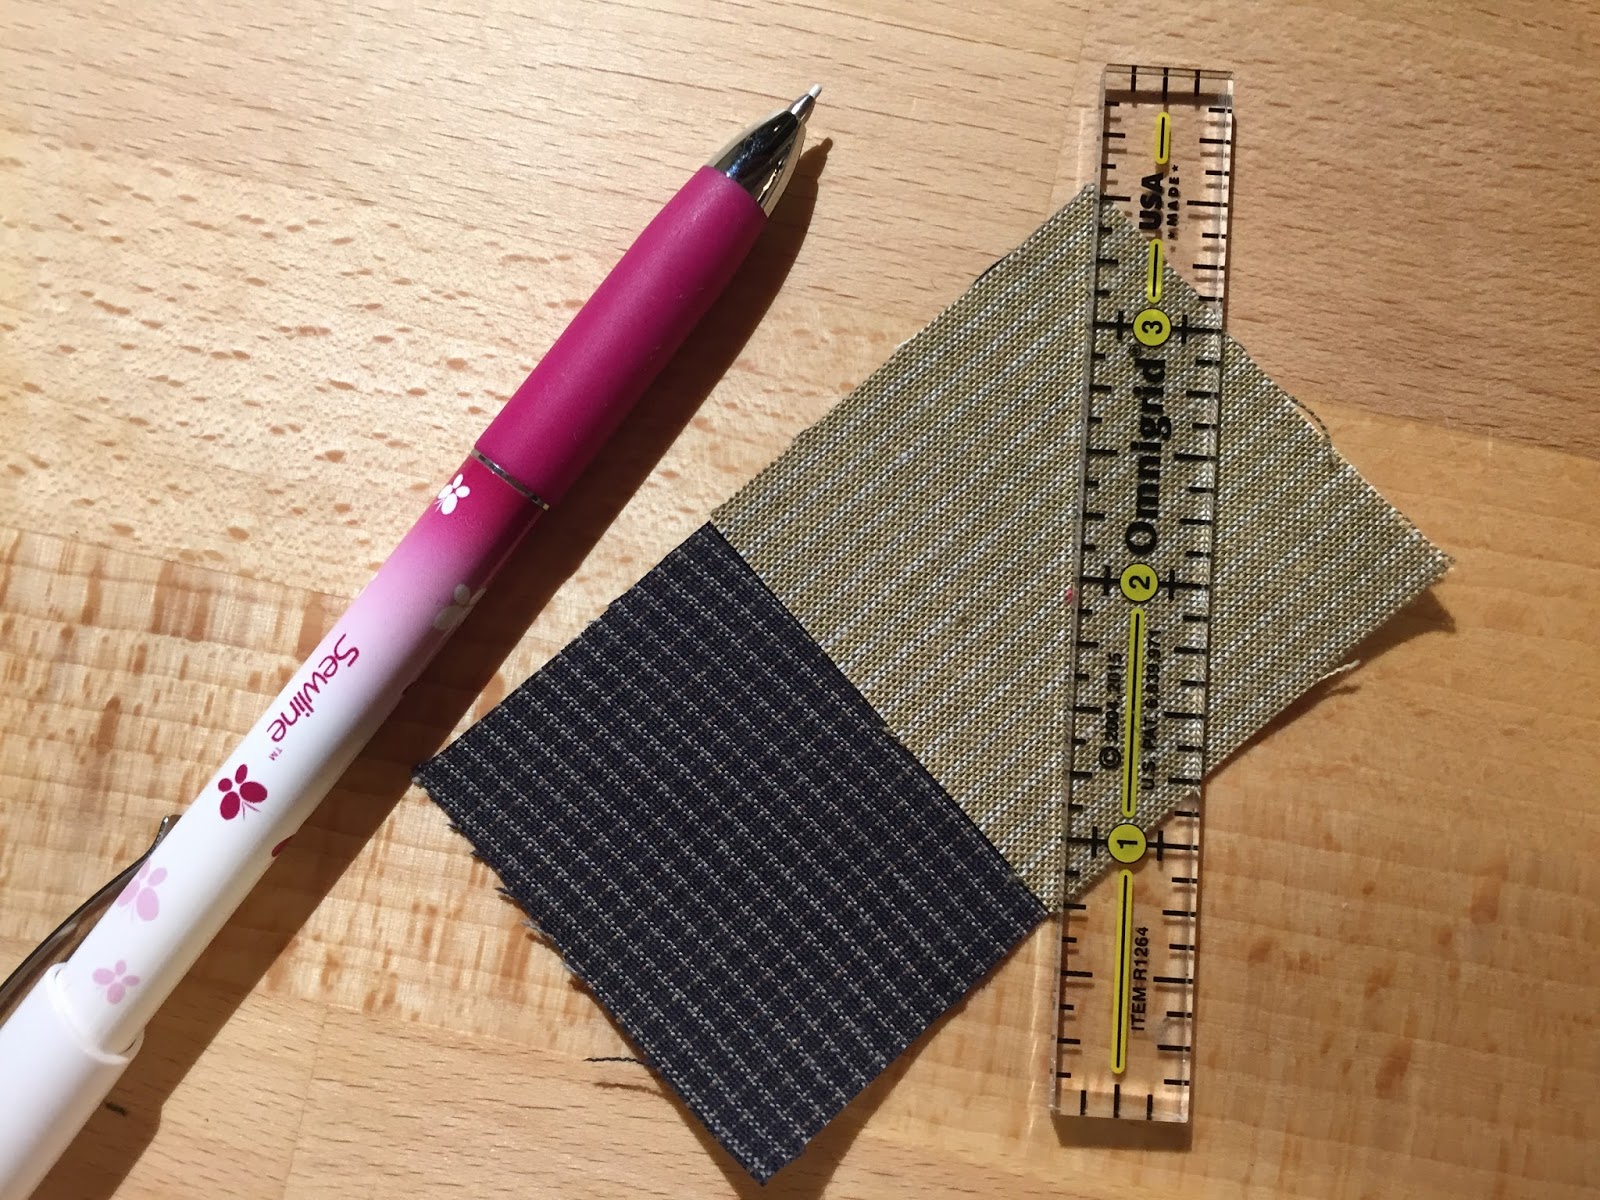
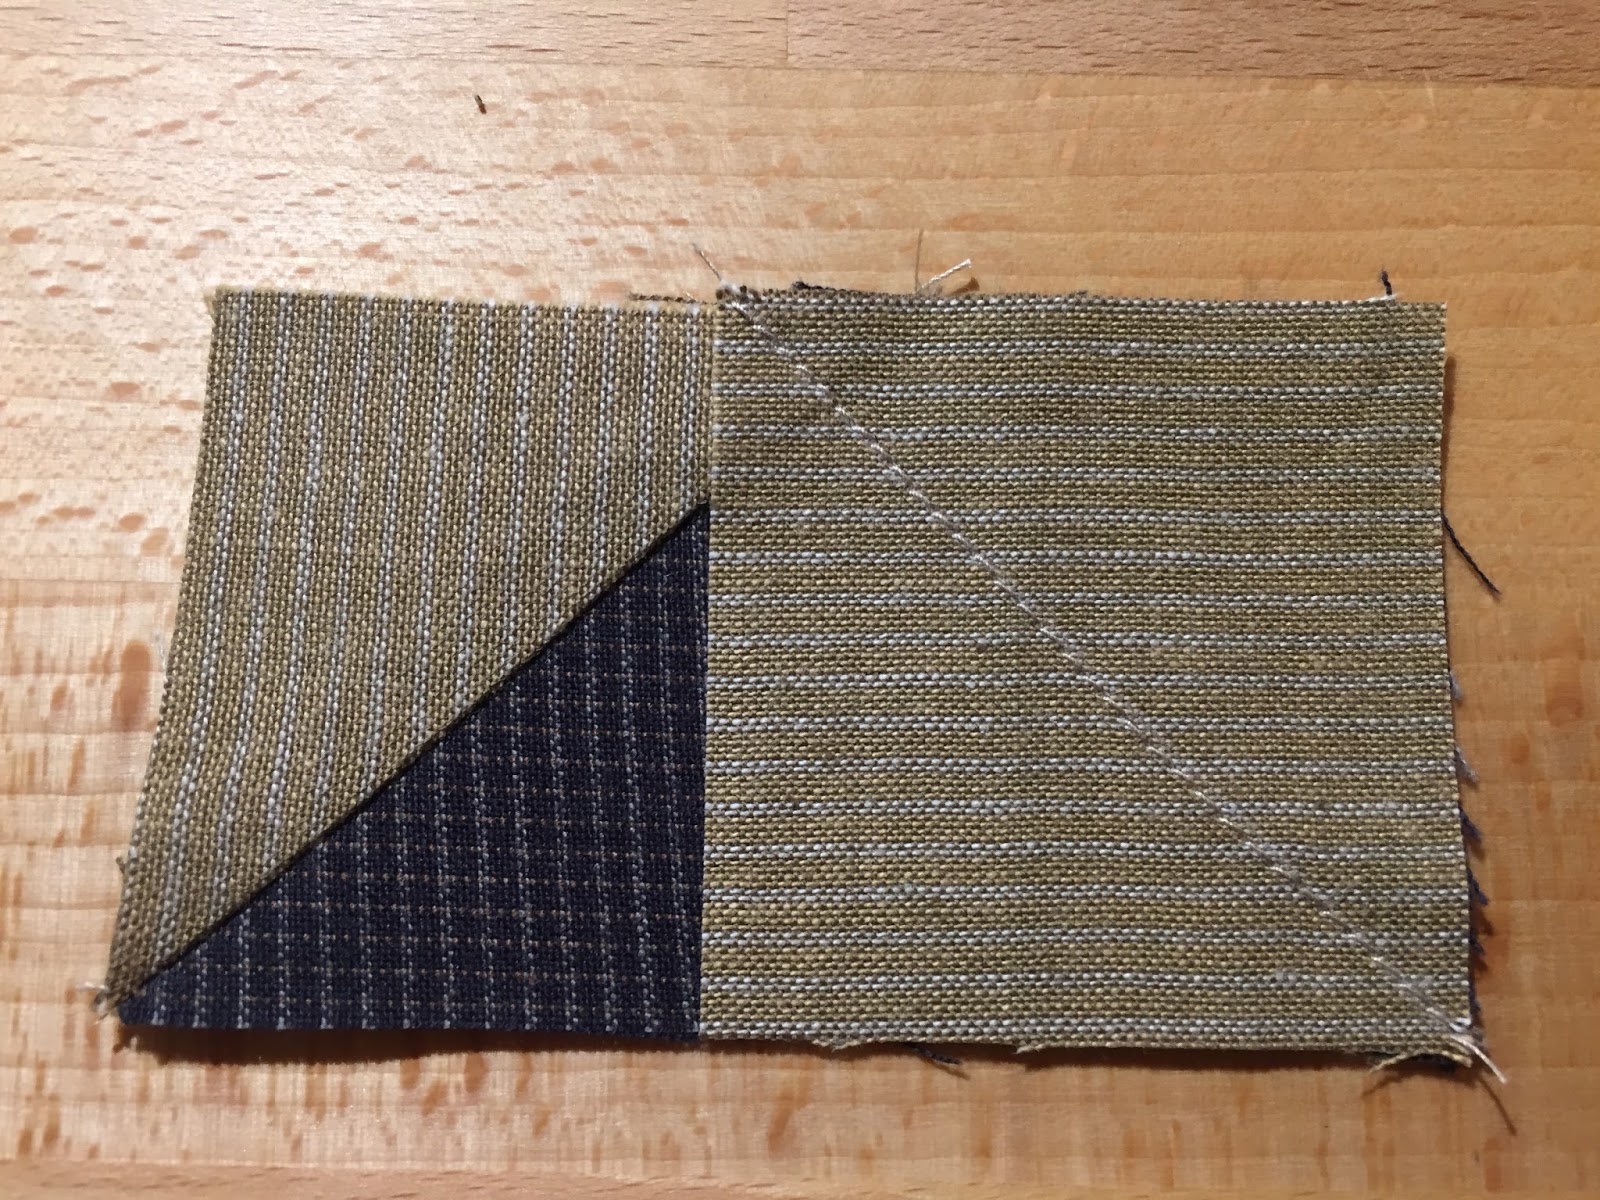
 The flying geese units for the inner star points are made using a slightly different method.  Start with a rectangle and a square. Lay the square over one side of the rectangle aligning the edges. draw a line on the diagonal of the square, and sew on that line.  Trim excess fabric beyond 1/4" from the seam. Flip and press the corner.  Repeat this with a second square on the other end of the rectangle, sewing the diagonal in the opposite direction.


The photo at right shows the units to form the inner star. You may notice these yarn dyed cottons will fray a little more than your typical prints.  Just use a little care when cutting and moving your pieces, and this should not give you any trouble at all. Use the center square, 4 flying geese units, and 4 corner squares. Assemble the block in rows. Press your seams toward the corner squares on the top and bottom rows, and towards the center square on the middle row. The intersections of your rows should then nest nicely. The final two seams should either be pressed toward the center of the block, or pressed open if it lays flatter that way.
The resulting star block will be used at the center in the larger star. Assemble the large star just as the small one, using the small star as the center, 4 flying geese units, and the 4 half square triangle units as the block corners. Be sure to arrange the HST corner blocks with the light and dark in the correct location.


 Put this star together just as before, in rows, pressing the seams in the same direction we did for the small star.  You will likely find the final two row seams on the block will want to be pressed open to help your block lay flat.


Your block should measure 12 1/2" square and will finish in the quilt at 12".  If you should have any questions, or would like to leave feedback about this block, or the Twilight Gardens quilt, use the comments section below.

Thanks for following along.

Steven